Showing posts with label How. Show all posts

Saturday, June 29, 2019

how to setup cisco virtual wireless lan controller in vmware

How to setup Cisco virtual wireless LAN controller (VWLC) in vmware workstation


 1.Download the Cisco virtual wireless LAN controller OS


you can download the OVA file in the Cisco web page.But first you need to create a Cisco login account.

then go to below link and download the software


In this i am using the 8.2.170 version of the software.

after download open the .OVA file using vmware workstation.


 2.Select the storage path and start the virtual machine

select the path you wan to store the vm and go to setting to create the network two  adapters.


then start the virtual machine.


 3.Configure the wireless LAN controller 


 terminate auto install : yes
 Admin username : admin
 Admin password : Admin123
ip address configuration : static
service interface ip : 192.168.2.3
service interface netmask : 255.255.255.0
Management Interface IP : 192.168.10.3
Management Netmask : 255.255.255.0
Management Default Routes: 192.168.10.1
Management Interface vlan :0
Management Interface port no : 1
Management Interface dhcp server ip : 192.168.10.1
virtual gateway ip : 1.1.1.1
Mobility / RF group name : Cisco
Network name (SSID) : Test
DHCP bridging mode : no
Allow static IP : yes
Configure RADIUS Server : No
Country code : US


Then enable the WIFI standards you want to use.


you can login to the command line using administrator username and password after login give the below command to enable the HTTP access via web browser.

# Config network webmode enable
# save config


 4. setup the the virtual network editor to used the web interface using host machine web browser


 go to the edit and open the virtual network editor and setup the network as shown in below images it will create the connection to the host machine then you can view the web interface using the host machine. 


 5.View the available network interface 


 If you want to view the your interfaces details give below command 

# show system interfaces


open the web browser of the host machine and enter the ip address of the service interface
login using the admin username and password.


Friday, December 7, 2018

How to Install and configure the Oracle Database 12c server on Centos 7

How to Install and configure the Oracle Database 12c server on Centos 7 (PART III)


Objective 

  • install the Centos 7 
  • Create and design the Oracle database server

Machine name    :  Linux-x64-Oracle-Server
IP address           : 10.0.2.100
netmask             : 255.255.255.0
default gateway  :  10.0.2.1


4. Connect to the Oracle Enterprise Manager

After crating the pluggable database, we can go to oracle enterprise manager.


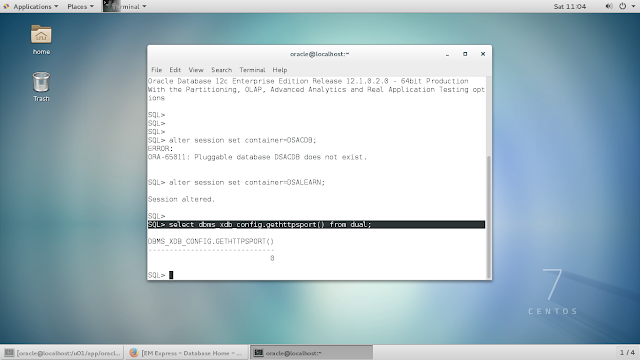
5.  Connect to SQL Plus


Also, we can verify the oracle database creation using SQL PLUS

#sqlplus sys/dsacdb as sysdba


6. Register the Listener


After creating the new listener, you must register that listener give this command to register the listener.

#alter system register


7. Creating a User 


8.  Set the IP Address and Subnet Mask 

Connect to the oracle Enterprise manager you can set a ip address.
To do that you must edit the hosts file. To do that give this command

#nano /etc/hosts


Then go to the network and go to settings. Under the IP V4 section give this ip address, subnet mask and default gateway.

ip address    -  10.0.2.100
subnet mask    -  255.255.255.0
default gateway  - 10.0.2.1


Screenshot Download